Navigating Roblox image IDs is crucial for every aspiring creator and player looking to personalize their experience in 2024. This comprehensive guide delves into how these unique identifiers work, where to find them, and why they are essential for customizing games, avatars, and visual elements within the vast Roblox universe. We will explore the process of uploading images, understanding approval processes, and effectively implementing IDs for decals, textures, and other assets. Discover the secrets to unlocking a world of visual customization, ensuring your creations stand out and resonate with the global Roblox community. Learn the tips and tricks for seamless integration and troubleshooting common issues related to image ID usage. This informational resource is tailored to help you master Roblox image assets, enhancing both your creative workflow and your gameplay. Get ready to elevate your Roblox experience with expert knowledge on image IDs, staying ahead of trends and maximizing your in-game customization possibilities.
Related gamesWelcome to the ultimate living FAQ about Roblox Image IDs, meticulously updated for the latest patches and features in 2024! If you've ever found yourself scratching your head trying to figure out how to get that perfect custom texture into your game or onto your avatar, you've come to the right place. This guide is designed to be your go-to resource, covering everything from the most basic questions to advanced scripting techniques. We'll demystify the process, offer practical tips and tricks, address common bugs, and help you navigate the vast world of Roblox asset management. Whether you're a budding developer or a seasoned builder, understanding image IDs is fundamental to unlocking the full creative potential of Roblox. Let's dive in and get all your burning questions answered!
Most Asked Questions about Roblox Image IDs
What is a Roblox Image ID and how do I use it?
A Roblox Image ID is a unique numerical code assigned to every image uploaded to the platform. You use it in Roblox Studio or within games to display specific visuals like decals, textures, or UI elements. It essentially tells Roblox exactly which image from its vast library you want to place, personalizing your creations with custom graphics.
How do I find image IDs for popular Roblox assets?
To find image IDs for popular or existing Roblox assets, visit the asset's page on the Roblox website. The unique numerical ID will be clearly visible within the URL of that page, typically after "/library/". Simply copy this number to use it in your projects.
Can I upload any image to Roblox to get an ID?
No, you cannot upload just any image. All uploads are subject to Roblox's moderation guidelines to ensure they comply with Community Standards, copyright laws, and safety policies. Only approved images receive an ID and can be used on the platform. Always upload original, appropriate content.
My custom image isn't showing in my Roblox game, what's wrong?
If your custom image isn't displaying, several factors could be at play. It might still be in moderation, could have been rejected (check your messages), or you might have entered an incorrect ID. Sometimes, Roblox servers take a moment to propagate new assets. Double-check the ID and give it some time.
What are the best image file types and sizes for Roblox uploads?
For Roblox uploads, PNG is highly recommended, especially for images needing transparency. JPG is suitable for opaque, photographic images. While there's no strict maximum, aim for resolutions around 512x512 or 1024x1024 pixels, and keep file sizes under 4MB for optimal performance and quicker moderation approval.
How do I apply a custom texture to a part in Roblox Studio?
To apply a custom texture, insert a 'Decal' or 'Texture' object into your chosen Part in Roblox Studio. In the Properties window of that Decal/Texture object, locate the 'Texture' property. Here, you will paste your Roblox Image ID. You can then adjust the 'Face' property for Decals to orient it correctly.
What is ContentId and why is it used in Roblox scripting?
ContentId is the full string path, `rbxassetid://[ImageID]`, used in Roblox scripting to reference an image. While Image ID is just the number, ContentId is the complete URL format that scripts use to dynamically load or change images, textures, or UI elements within a game based on programmed logic.
Beginner Questions
How do I start using custom images in my Roblox creations?
The first step is to visit the Roblox website, navigate to the 'Create' tab, and then select 'Decals' under 'My Creations.' From there, you'll find an 'Upload Image' button where you can submit your own pictures. Once approved, Roblox assigns a unique ID that you can copy from the asset's URL on its dedicated page. This ID is your key to personalizing your games and models.
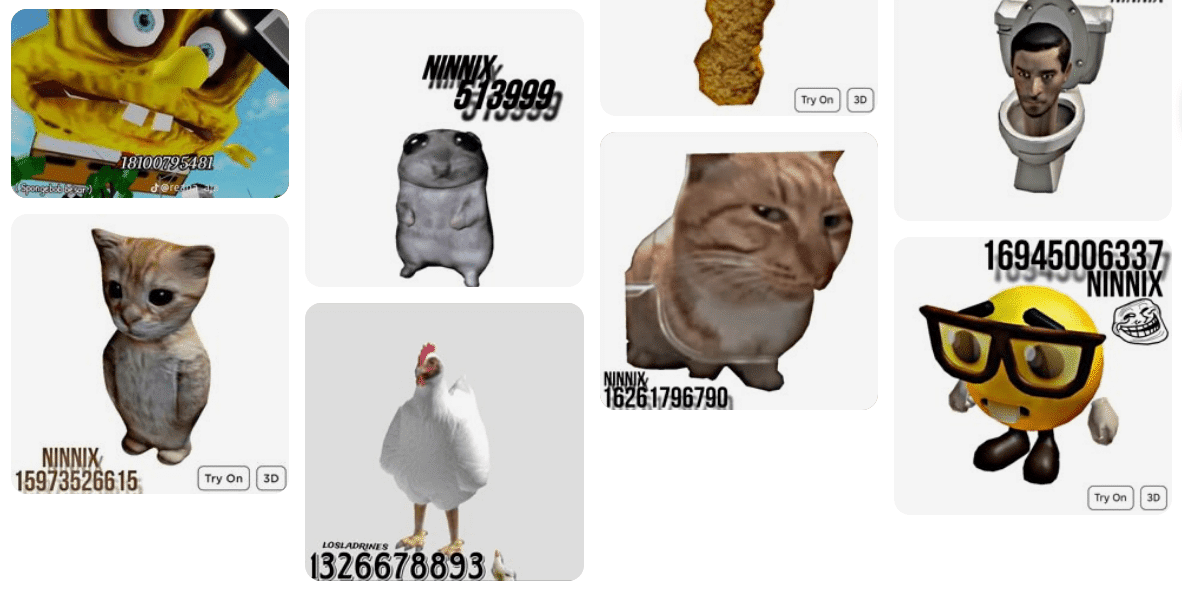
Where can I find free Roblox Image IDs to use?
You can find many free Roblox Image IDs directly on the Roblox website by browsing the Creator Marketplace for decals or other image assets. Many creators share their assets publicly. Additionally, some community forums or dedicated Roblox asset sites might list popular or useful IDs. Always double-check the image content and ensure it’s suitable before using it in your projects.
Tips & Tricks
What are some advanced tips for organizing my Roblox images?
For advanced organization, consider developing a consistent naming convention for all your uploaded assets. Use prefixes like "TEX_" for textures, "DCL_" for decals, or "UI_" for user interface elements. Within Roblox Studio, create nested folders in the Explorer window (e.g., 'Assets/Textures/Environment') and use 'CollectionService' tags to group related items for easy script-based management.
How can I optimize my game's performance when using many images?
To optimize performance, always compress your images before uploading to reduce file sizes without compromising too much quality. Utilize texture atlases where possible, combining multiple small images into one large sheet, reducing draw calls. Also, ensure images are only loaded when needed and are appropriately sized for their display area, avoiding unnecessarily high-resolution assets for small details.
Bugs & Fixes
Why are my textures appearing blurry or pixelated in my game?
Blurry or pixelated textures often occur if the original image resolution was too low for the size it's displayed in-game, or if Roblox automatically downscaled a very large image. Ensure your uploaded image has sufficient resolution for its intended use. Also, check the 'TextureFilter' property of your Decal or Texture object in Studio; setting it to 'Linear' or 'Trilinear' can sometimes improve visual quality compared to 'Point'.
Endgame Grind
How do professional Roblox developers manage their vast image libraries?
Professional developers often employ robust asset management systems outside of Roblox Studio, sometimes using version control software like Git. They maintain detailed spreadsheets or databases to track Image IDs, their intended use, and status. Many use custom plugins within Studio to quickly import, categorize, and apply assets. They also focus heavily on modularity, reusing optimized assets across multiple projects to save time and ensure consistency.
Still have questions? Check out these popular related guides: 'Roblox Studio Basics for Beginners,' 'Mastering UI Design in Roblox,' and 'Scripting for Visual Effects in Roblox!'.
Ever wondered how all those amazing custom graphics and textures appear in your favorite Roblox games? How do creators manage to personalize everything from character clothing to entire building facades? Many players often ask, "Where do I find image IDs on Roblox, and how do I even use them?" You're not alone! Understanding Roblox image IDs is like gaining a superpower for customization. These unique numerical identifiers are the backbone of visual creativity on the platform, allowing developers and players alike to bring their wildest artistic visions to life. From simple decals to intricate game textures, these IDs are the keys to unlocking a truly personalized and engaging Roblox experience. Learning about them can transform your game development or even just your avatar's style.
Understanding Roblox Image IDs: Your Creative Passport
So, what exactly are Roblox image IDs? In simple terms, an image ID is a unique numerical code assigned to every single image uploaded to the Roblox platform. Think of it as a digital barcode for your visuals. When you upload a picture, decal, or texture, Roblox processes it and gives it this special number. This ID is then what you use within Roblox Studio or even in some game systems to display that specific image. It’s what tells the game, “Hey, put *this exact picture* right here!” Without these IDs, the platform wouldn't know which image you're referring to, leading to a lot of visual confusion. They are central to how Roblox manages its vast library of user-generated content, making sure everyone's assets are properly indexed and accessible. Mastering their use is fundamental to truly customizing your Roblox world.
Why Are Roblox Image IDs So Important For Creators?
For creators, image IDs are absolutely indispensable. They are the tools that transform a basic game into a visually stunning experience. Imagine trying to build a complex map without custom textures for your buildings or unique logos for your in-game brands. It would be nearly impossible to achieve a distinct look and feel. Image IDs enable creators to upload their own custom graphics, ensuring their games have a unique identity. This capability is vital for standing out in the crowded Roblox marketplace. Without custom visuals, many games would look generic, lacking the unique flair that attracts and retains players. Utilizing these IDs effectively allows developers to craft immersive environments and engaging gameplay experiences, pushing the boundaries of creativity on the platform.
Beginner / Core Concepts
1. **Q:** What exactly is a Roblox Image ID and why do I need to know about it?
**A:** Hey there! I get why this confuses so many people when they first jump into Roblox creation. A Roblox Image ID is essentially a unique digital fingerprint, a special number assigned to any image you or someone else uploads to the Roblox platform. You really need to know about it because it’s how you tell Roblox exactly which picture, decal, or texture you want to use in your game, on your avatar, or in any custom creation. Without this ID, Roblox wouldn't be able to find and display your specific artwork. Think of it as a street address for your image within the massive Roblox city! It’s the foundational concept for all visual customization, letting you personalize your spaces and gear. You've got this!
2. **Q:** How do I find the Image ID for an existing image on Roblox?
**A:** This one used to trip me up too, but it's actually pretty straightforward once you know the trick! To find an Image ID for an existing asset on Roblox, you usually just need to navigate to the asset's page on the Roblox website. When you click on a decal, a shirt texture, or any image in the Creator Marketplace, look at the URL in your browser's address bar. You'll see a long number in that URL – that's your Image ID! For example, `roblox.com/library/[Image ID]/[Image Name]`. Copy that number, and you’re good to go. It’s super handy for reusing popular assets or sharing your own creations. Try this tomorrow and let me know how it goes!
3. **Q:** Can I use any picture I find online as a Roblox Image ID?
**A:** Ah, this is a common misconception, and it's super important to get this right to avoid any trouble! No, you can't just use *any* picture you find online. For an image to have a Roblox Image ID, it first needs to be uploaded and approved by Roblox. This process involves moderation to ensure the image complies with Roblox's Community Standards and Terms of Use. This means no copyrighted material without permission, no inappropriate content, and nothing that violates their safety guidelines. Uploading your own original content or using images from royalty-free sources you have rights to is always the safest bet. Play by the rules, and you'll have a much smoother creative journey!
4. **Q:** What's the difference between a Decal ID and a Texture ID, and why does it matter?
**A:** That's a fantastic question because these terms can sound confusingly similar, but they have distinct uses in Roblox Studio! A **Decal ID** is typically used for flat images that you want to stick onto a surface, like a poster on a wall or a logo on a sign. It's usually a 2D image projected onto a single face of a part. A **Texture ID**, on the other hand, is used to apply repeating patterns or detailed surfaces to a part, often tiling across multiple faces of a 3D object to give it a material look, like wood grain, brick, or metal. The difference matters because using the correct type ensures your visuals display as intended. You wouldn't use a Decal ID for a repeating brick pattern, nor a Texture ID for a single, unique painting! Understanding this distinction helps you achieve the precise visual effects you're aiming for. You've got this!
Intermediate / Practical & Production
5. **Q:** How do I upload my own images to Roblox to get an Image ID?
**A:** Okay, so you're ready to bring your own awesome art into Roblox – that's fantastic! The main way to upload your own images to get an Image ID is through the Roblox website. You'll want to go to the 'Create' tab at the top of the site, then navigate to 'Decals' under 'My Creations.' From there, you'll see an 'Upload Image' button. Choose your image file, give it a descriptive name, and then hit 'Upload.' Roblox's moderation team will review it, which can take anywhere from a few minutes to a few hours. Once approved, it will appear in your 'Decals' section, and clicking on it will take you to its page where you can grab its unique Image ID from the URL. Remember to use appropriate, original content to ensure quick approval. It’s an exciting step toward personalizing your Roblox experience!
6. **Q:** My uploaded image isn't showing up or is displaying as a gray brick. What went wrong?
**A:** Oh man, the dreaded gray brick – that's a classic Roblox creator frustration, and I totally get why it's so annoying! Usually, when your image isn't showing up or appears as a gray brick, it means one of a few things. First, the image might still be undergoing moderation; sometimes it just takes a bit longer, so patience is key. Second, it might have been rejected for violating Roblox's terms (check your messages for a notification). Third, you might have entered the wrong ID or made a typo. Double-check that numerical string! Fourth, for newer uploads, sometimes Roblox's servers take a moment to fully propagate the asset globally. A quick fix can often be re-entering the ID or restarting Roblox Studio. Don't give up, it’s usually a simple fix once you identify the cause!
7. **Q:** What are the best practices for naming and organizing my Image IDs in Roblox Studio?
**A:** This is a pro-tip that many beginners overlook, but it's a huge time-saver in the long run! Good naming and organization for your Image IDs in Roblox Studio can really streamline your workflow, especially as your projects grow. Always use descriptive names for your images when you upload them – think `BrickWallTexture_RedRough` instead of `Image1`. Inside Roblox Studio, utilize folders within the Explorer window to categorize your assets. Create folders for 'UI Elements,' 'Textures,' 'Decals,' 'Logos,' etc. This makes it incredibly easy to find specific assets later without scrolling through a massive, unorganized list. Consistency is key here; a well-organized workspace makes future development and debugging so much smoother. You'll thank yourself later, trust me!
8. **Q:** How can I use Image IDs to create custom UI elements in my game?
**A:** Creating custom UI is where Image IDs truly shine for making your game feel polished and professional! To use Image IDs for custom UI elements, you'll typically work with 'ImageLabel' or 'ImageButton' objects within a 'ScreenGui' in Roblox Studio. Once you insert one of these UI elements, you'll find an 'Image' property in the Properties window. This is where you paste your Image ID. You can upload custom icons, background images, progress bars, or even intricate button designs. This allows for complete artistic control over your game's user interface, moving beyond standard Roblox UI textures. Experiment with `ScaleType` and `SliceCenter` properties to ensure your custom UI scales beautifully across different screen sizes. It's a fantastic way to give your game a unique visual brand!
9. **Q:** Are there any size or format limitations I should know about when uploading images?
**A:** Absolutely, knowing the technical specs beforehand will save you a lot of headache! Roblox has specific guidelines for image uploads. While they support common formats like JPG, PNG, and GIF, PNG is generally recommended, especially for images with transparency. For dimensions, there isn't a strict maximum, but images that are very large (e.g., above 1024x1024 pixels) can take longer to load and might be automatically downscaled by Roblox, potentially losing some detail. Keeping images to power-of-two dimensions (like 128x128, 256x256, 512x512) is often a good practice, especially for textures, as it can optimize performance. Files also have a size limit, typically around 4MB. Always aim for a balance between quality and file size for optimal performance and quick moderation. You’ve got this!
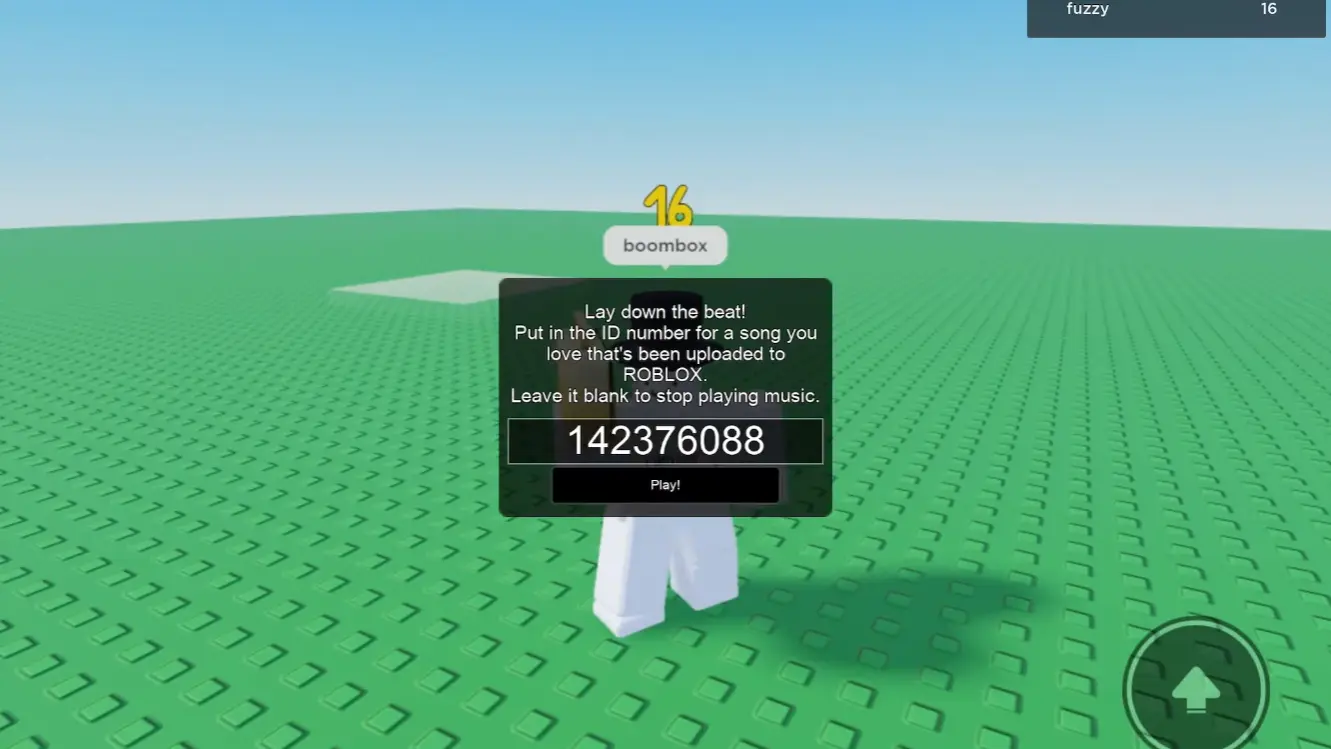
10. **Q:** How do I implement an Image ID onto a Part in Roblox Studio?
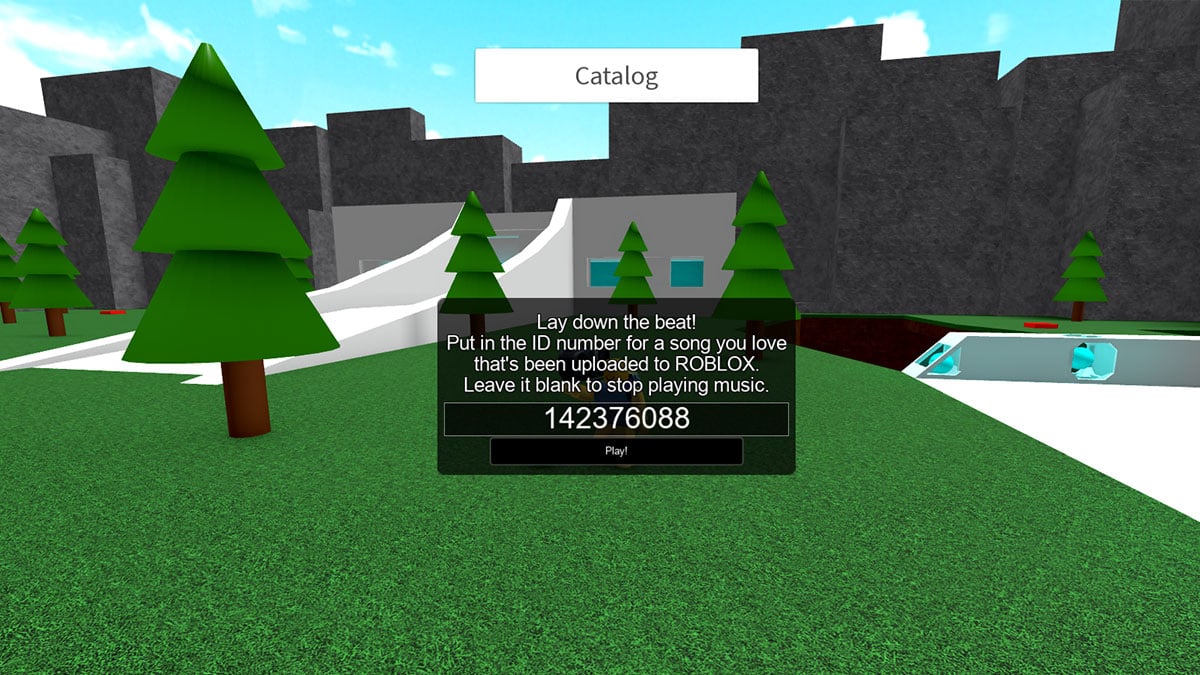
**A:** This is a fundamental step for bringing your visuals into the game world, and it's quite simple! First, make sure you have a Part (like a Block, Sphere, Wedge, etc.) inserted into your workspace in Roblox Studio. Next, in the Explorer window, right-click on that Part, hover over 'Insert Object,' and then select 'Decal' or 'Texture' (depending on what you need, remember our earlier chat about the difference!). Once the Decal or Texture object is inserted as a child of the Part, you'll see its properties in the Properties window. Find the 'Texture' property (yes, even for Decals, it's often named 'Texture'), and that's where you'll paste your Image ID. Voila! Your image should now appear on the selected face of the Part. You can also change the 'Face' property for Decals to specify which side of the part it appears on. Easy peasy!
Advanced / Research & Frontier
11. **Q:** What are Content IDs (ContentIds) and how do they relate to Image IDs in scripting?
**A:** This is where we get into the nitty-gritty of developer-level control, and it's super powerful! In scripting, when you're referring to an image, you often use what's called a `Content ID` (often seen as `rbxassetid://[ImageID]`). While `Image ID` refers specifically to the numerical identifier, `Content ID` is the full string path that points to the asset on Roblox's servers. For example, if your Image ID is `123456789`, the Content ID would be `rbxassetid://123456789`. You'll use this format in scripts to dynamically change textures on parts, update UI elements, or load images based on game logic. It’s the programmatic way to interact with visuals. Understanding this distinction is crucial for advanced scripting and creating dynamic visual experiences within your games. Keep exploring, you're on the right track!
12. **Q:** How can I automate the process of applying many Image IDs to multiple objects?
**A:** You're thinking like an efficiency expert now – that's excellent! Manually applying Image IDs to hundreds of objects would be a nightmare, but luckily, scripting comes to the rescue. You can absolutely automate this process using Lua scripts within Roblox Studio. A common approach involves iterating through a collection of parts (e.g., all parts in a specific folder, or all parts with a certain tag). For each part, you can programmatically create a `Decal` or `Texture` instance, set its `Texture` property to your desired `Content ID`, and parent it to the part. You can even store Image IDs in a table or a `StringValue` within your game and assign them based on certain conditions or an array. This method saves immense development time and ensures consistency across large builds. You've got this!
13. **Q:** What are some common security considerations or risks when using external Image IDs?
**A:** That's a very smart question, and one that often gets overlooked by eager creators. Using external Image IDs (meaning IDs from assets you didn't upload yourself) comes with a few key security considerations. First, the image could be deleted or moderated by Roblox at any time, leaving you with a broken gray brick in your game. Second, if you're using Image IDs provided by untrusted sources, there's a risk they could point to inappropriate or copyrighted content, leading to moderation action against your game or account. Always verify the source and content of any external ID before integrating it widely. Best practice is to re-upload critical external assets yourself (if you have permission) or rely on IDs from reputable asset creators. Always be vigilant about what you put into your game; player safety and intellectual property are paramount on Roblox. Stay safe out there!
14. **Q:** How do I optimize images for performance before uploading them to Roblox?
**A:** Optimization is key for a smooth player experience, and it's a critical skill for any serious Roblox developer. Before uploading, you'll want to reduce file size without sacrificing too much visual quality. This involves several steps: first, ensure your image dimensions are appropriate for their use case – don't upload a 4K texture for a tiny UI icon! Second, use image compression tools (like TinyPNG or your image editor's 'Save for Web' function) to strip unnecessary metadata and reduce file size. Third, consider using PNG for images with transparency and JPEG for photographic, opaque images, as they handle compression differently. Fourth, use a minimal color palette where appropriate. Smaller file sizes mean faster loading times for players, which translates to a much better and more responsive game experience. Every byte counts in game development!
15. **Q:** Can Image IDs be used for dynamic content like animated textures or video clips?
**A:** Oh, you're diving into the cutting edge now – that's exciting! While a single `Image ID` itself typically points to a static image, you can absolutely create the *illusion* of dynamic content like animated textures or even simple video clips by rapidly changing the `Image` property of a `Decal`, `Texture`, `ImageLabel`, or `ImageButton` via a script. This technique involves pre-uploading a sequence of individual image frames (each with its own ID) and then cycling through those IDs in a loop. For more advanced, true video playback, Roblox primarily supports the `VideoFrame` object, which uses `Video IDs` (a different type of asset ID) rather than Image IDs. However, for frame-by-frame animation, Image IDs are your go-to. It requires a bit of scripting ingenuity, but the results can be incredibly impressive and add a lot of life to your creations! Give it a try!
Quick Human-Friendly Cheat-Sheet for This Topic
- Always use the 'Create' tab on Roblox.com to upload your own images and get their IDs.
- Grab Image IDs from the URL of any asset's page on the Roblox website.
- Double-check your IDs! A single wrong digit means a gray brick, not your awesome art.
- Organize your images with descriptive names and folders in Roblox Studio; your future self will thank you.
- Understand the difference between Decals (flat images) and Textures (repeating patterns) for best results.
- Prioritize image optimization (smaller file sizes, appropriate dimensions) for faster game loading.
- For dynamic visuals, script changes to Image IDs or explore Roblox's specific VideoFrame assets.
- Always respect Roblox's moderation rules and copyright laws to avoid asset rejections or account issues. You've got this!
Unlock Roblox visual customization with image IDs. Easily find and implement IDs for decals and textures. Master the image upload and approval process in Roblox Studio. Enhance games and avatars with unique visual assets. Stay updated on trending Roblox image IDs and best practices.
35


100 Roblox Music Code ID S 2026 WORKING AFTER UPDATE . 20 Roblox Full Music Codes IDs January 2026 WORKING ROBLOX ID . Seeking Illuminati Song ID Roblox Codes In 2026 . Is Your Roblox ID Safe From Leaks In 2026 . Roblox DBZ Decals What Are They For 2026 SL1500

/2026/02/23/1838169798.jpg)

Seeking Illuminati Song ID Roblox Codes In 2026 Plead Roblox Music ID Codes . What Are Roblox Ice Decals For 2026 Best Decal Ids Roblox . Code Anime Apocalypse Roblox April 2026 Cek Daftar Terbaru Dan Cara 1838169798 . What Exactly Is A Roblox Decal And How Can You Use Them Id Decal Roblox Image . Where To Find Your My Melody Roblox Decal ID Codes Best Decal IDs In Roblox 1

Prepare For 2026 With Roblox Trends TikTok Img. 100 Nh N D N Roblox T T Nh T ID H Nh Nh 2026 Word Image 276876 1 800x427 . M ID Nh C Roblox T T Nh T 2025 Webp. Roblox 2026 The Face ID Game Overhaul Explained TikTok Img. Roblox Image ID Database 2026 Lawod Roblox Image ID Database 1536x864
:quality(30):format(webp):focal(0.5x0.5:0.5x0.5)/pontianak/foto/bank/originals/VIRAL-Alasan-Pemerintah-Blokir-Roblox-di-Indonesia.jpg)


Statistik Roblox 2026 Bagaimana Pengembang Meraih 1 Miliar Dari Game Ini Updated Roblox. Aturan Baru Roblox 2026 Hapus Fitur Chat Cara Lewat VIRAL Alasan Pemerintah Blokir Roblox Di Indonesia . What Is Roblox Money ID And How Does It Work Roblox Plague Codes . What Is Roblox ID Taki And How To Use It Safely 1920x1080 . Roblox 2026 Logo REVEALED New Color New Look YouTube Maxres2


Discovering Roblox Phonk Music IDs How Do You Find Them Best Phonk Roblox Music ID Codes . Roblox Girl Face Codes . Finding Cute Face Roblox IDs For Your Avatar . Images Id Roblox Roblox New Logo Roblox Amino . Roblox Mu3ic Codes How Do They Elevate Your Game Sddefault
Roblox ID Does Your Digital Identity Truly Matter Songid Roblox2024 02 . What Are The Biggest Items In Roblox Worlds For 2026 . How To Get A Roblox Image Id . Roblox At GDC 2026 Where To Find Us All Week Roblox. What Is The Loadsamoney Roblox ID Code In 2026 Sorcerer Tycoon Codes Roblox.webp


Kode Redeem CDID Roblox Januari 2026 SipShop Blog Kode Redeem CDID Roblox Januari 2026.webp. All The Latest Roblox Music ID Codes May 2026 Latest Roblox Music ID Codes . Top Up Gift Fish It Roblox 2026 Crescendo Scythe Magma Surfboard Image. Game Roblox Terbaik Untuk Mabar Rekomendasi Seru 2026 SuperNews Game Roblox Terbaik Untuk Mabar Rekomendasi Seru 2026 . Smooth Criminal Roblox ID Codes 2026 Michael Jackson Song Smooth Criminal Roblox ID Codes List